Flexible Dough with Preferment
RECIPE BY: MEADE ARMSTRONG


I want to credit this recipe to Ken Forkish, as it is nearly identical to his Overnight Poolish Pizza Dough recipe from his book Flour Water Salt Yeast -- which you should purchase if you find slowly fermented, crusty breads & pizzas at all interesting. This was my first “real” bread book, and I still return to it regularly. It is perfect for anyone interested in naturally leavened breads, doughs with preferments, and overnight doughs. Overall, I find it to be a thoughtful approach to better understanding, gauging, and handling your dough.
This dough in particular calls for a preferment called a “poolish,” which can also be considered a loose sponge. This poolish includes 50% of the final dough’s flour content, which means that half of this dough benefits greatly from slow and low fermentation, which adds flavor, increases digestibility, and makes for a more extensible dough. If you throw a little extra yeast into the final dough, it will move a little faster for you during the final proof, but will also give it enough of a leavening boost that it should be able to stand up to being shaped into a freestanding loaf, a pan loaf, or even baguettes if you’re feeling wild.
OVERNIGHT POOLISH
400g - Water (cold, from tap) ~63F
200g - All Purpose flour
200g - Semolina* flour
3 pinches (~ 1/16 tsp) - Yeast
Mix thoroughly with a spatula, cover (with a lid, wet towel with baking sheet on top, cutting board held down with a weight, etc), and let sit out on the countertop overnight.
TODAY POOLISH (~4 HOURS, DEPENDING ON ROOM TEMP)
400g - Warm water (~90-100F)
200g - AP flour
200g - Semolina flour
3 pinches (~ 1/16 tsp) - Yeast
Mix thoroughly with a spatula, cover (with a lid, wet towel with baking sheet on top, cutting board held down with a weight, etc), and let sit out on the countertop until ready to use (doubled-tripled in size).
FINAL DOUGH
800g - Poolish
225g (~90-100F) - Warm water
400g - AP flour
16g - Salt
2g - Yeast (optional)***
Once your poolish is very bubbly and visibly “inflated,” pour your warm water in with it and use your hand or a spatula to help loosen the poolish from the sides of the bowl. Mix all of your dry ingredients that you intend to use and throw them in with the water and poolish. It’s going to get messy now, so if you want to get a bowl of water ready for your hands, go for it.
Now mix your dry and wet ingredients vigorously. You’ll find that these textures aren’t easy to incorporate, so you may sweat a little. You can also use a stand mixer. It’s not cheating to do so.
After your dough is thoroughly mixed, rub some oil in a new bowl, and plop your dough into that freshly oiled bowl. You can give this dough a few folds -- especially if you intend to make a freestanding or pan loaf with it. I don’t find that it’s extremely necessary if you’re just going to be making a flatbread with it, but it doesn’t hurt at all!
To fold, oil your hands, pick up the dough at its middle, and lift it out of the oiled bowl, so that the dough at 12 o’clock is able to come up out of the bowl, dangle, let gravity stretch it as it wants to extend back into the bowl, and let the little end of this dough rest at the center of the bowl. Then rotate the bowl 90 degrees and do the same thing. Rotate the bowl 90 degrees and do this again, then once more. This is called a coil fold, and there are thousands of beautiful videos online that may inform you better than the hot mess description above.
Let the dough rest for ~20 min before doing your four folds once more. After that, just let the dough proof until it is doubled in size.
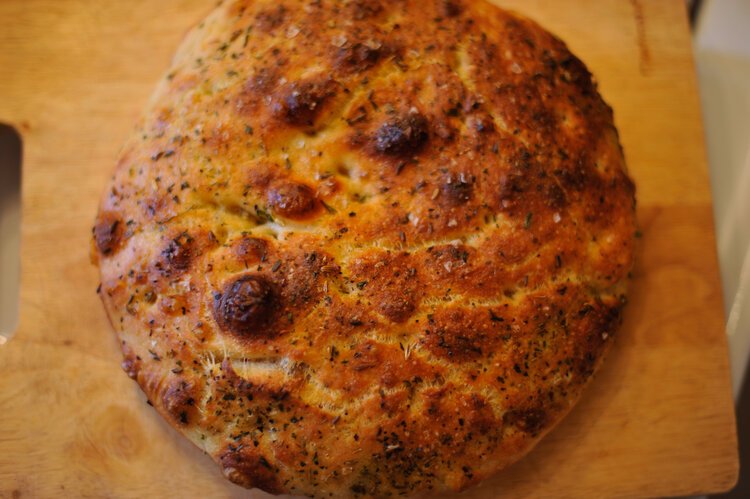
Once dough has doubled in size and is looking downright sexy, you have the option of shaping it into little rounds and throwing it in the fridge for later (pizza, focaccia), or using it right away.
- For fridge storage: oil airtight containers that allow for some dough expansion. Portion dough into 375g balls and put away for later. These can last nicely for 3 days in the fridge.
For now though, let’s make focaccia.
Liberally oil a sheet tray or skillet with some punchy EVOO. This I do by sight, and basically pour until I have covered a third-half of the surface area of the bottom of the baking vessel.
Place your dough in the baking vessel, push it out a little so as to cover the bottom of the vessel, then flip so that the oily bottom is now the top. Let rest for 10-15 min to allow for the dough to relax, then push it out again to evenly cover the bottom of the baking vessel. Let this proof, covered if possible, until it has just about doubled in size and is starting to resemble a bubbly pillow. As this proofs, preheat your oven to 480 F--or if your oven is wimpy af go for 500 F.
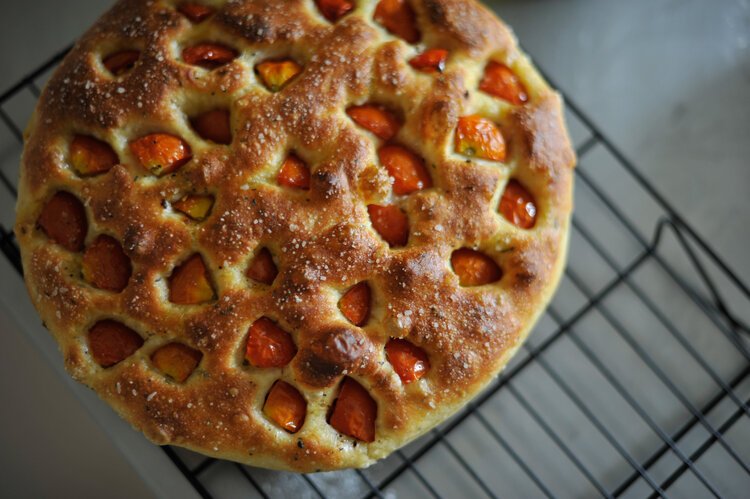
When your dough is ready to bake, squirt a little more EVOO on top, get a little on your fingers, and poke away, creating little crevices and valleys for all of that wonderful olive oil. THEN, bedazzle your focaccia with some elegant flaky salt. If you’re feeling one way or another, you can also go herby here, or stick some cherry tomatoes + olives in some of those craters you made a second ago. Either way, you win.
Bake until you reach the darker side of golden. ~20-25 min
Almost all bread is best day-of, so do what you can to this. It will be great kept in an airtight container and toasted a day or two after, but after that I encourage you to make croutons.
*Mess around with this. You can absolutely sub out the semolina for a lower protein flour, just be sure to also lower the amount of water in the final dough. For example, if I switched the semolina our for spelt, I would use 200g water in the final recipe instead of 300g.
**You can use a little more than this if you want it to ripen faster. Also, for the record, I use Red Star active dry yeast, and it has never let me down.
***Using yeast in the final dough is recommended if you want to make this dough into a loaf - freestanding or pan. It is not necessary for focaccia or pizza, and the flavor without it is sometimes preferable, but you can use it if you’re trying to expedite the proofing process.
